View wireless diagnostics in your modem utilities
The Wireless Diagnostics tool gives you insights into your WiFi network, including WiFi channels available, specific devices, and access points. Follow the step-by-step guide below to access the Wireless Diagnostics tool.
1. Connect a device, such as a computer or tablet, to the internet through your Brightspeed WiFi or using an Ethernet cable connected to your modem.
2. Open a web browser and type http://192.168.0.1 into the web address field.

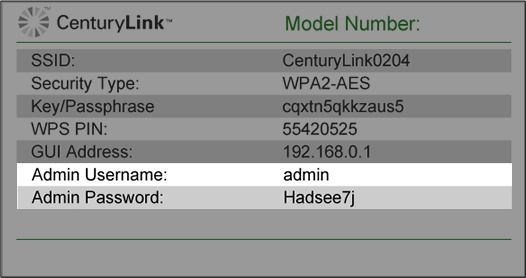
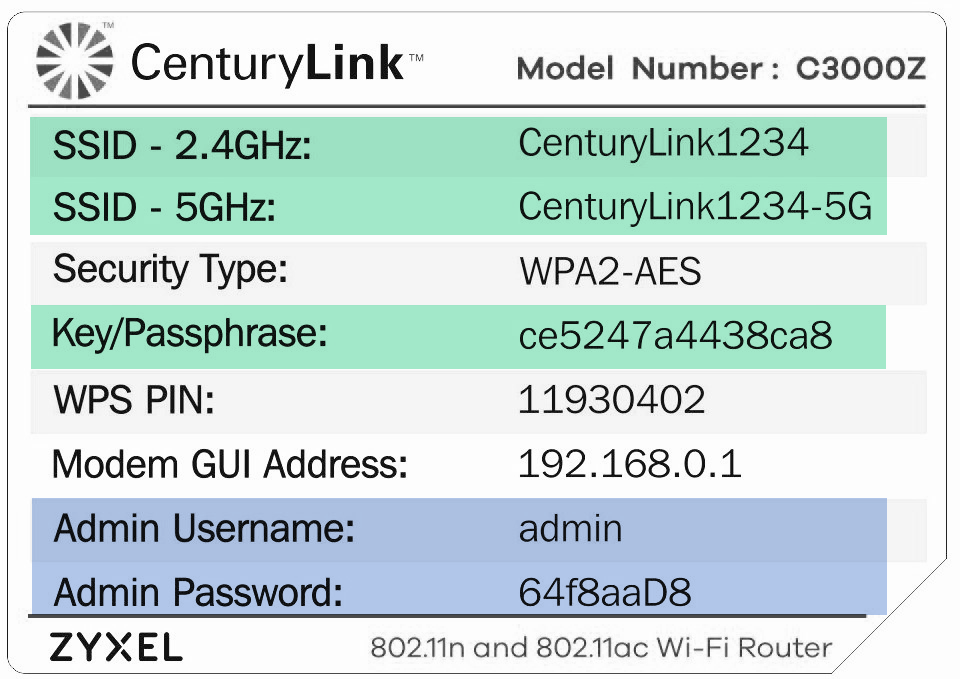
3. Log in to the modem's settings interface (Modem GUI) using your Admin Username and Admin Password. Note that these are different from your wireless network name (SSID) and WiFi password (security key).
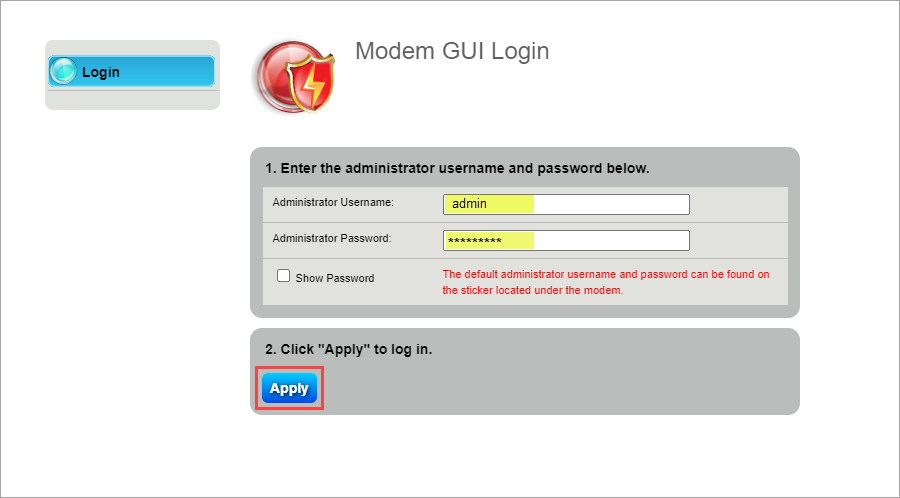
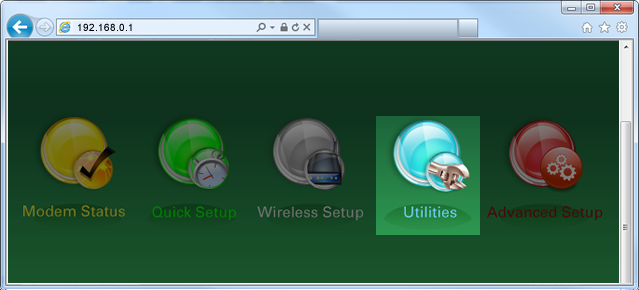
4. Select the Utilities icon in the main menu.
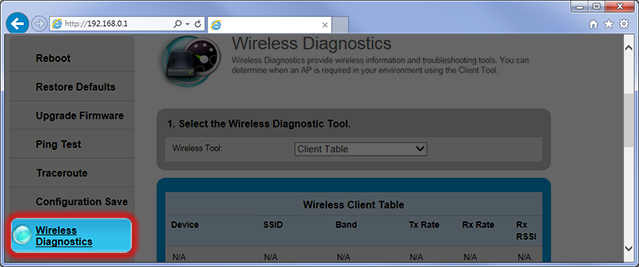
5. Select "Wireless Diagnostics" in the left sidebar.
6. Select a Wireless Diagnostic Tool from the dropdown menu. The list of diagnostic tools varies from model to model, so your particular router may not offer all of the options listed below.
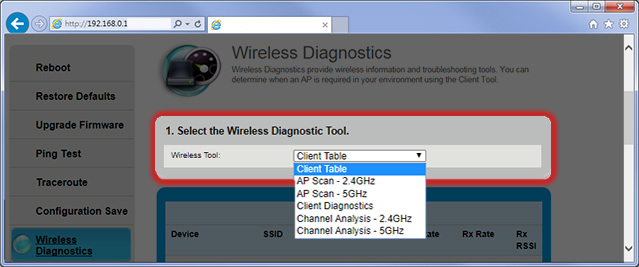
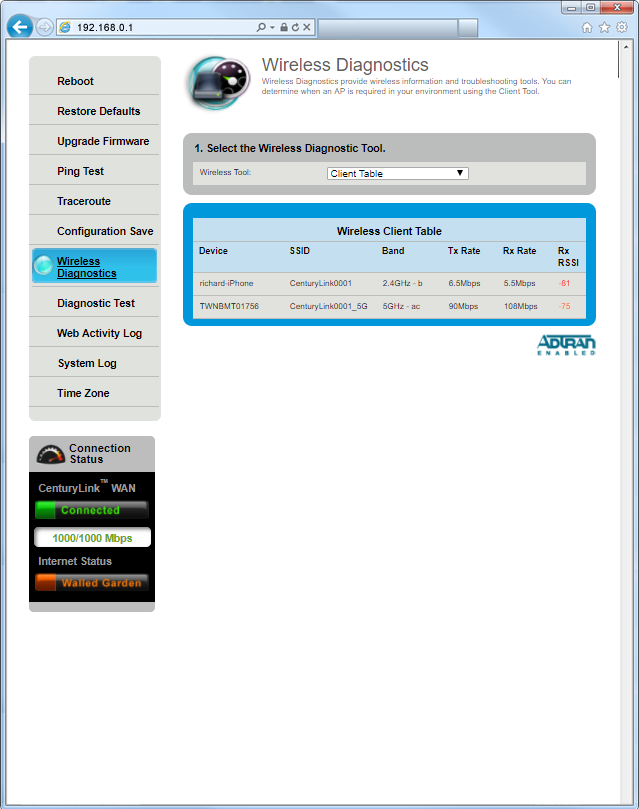
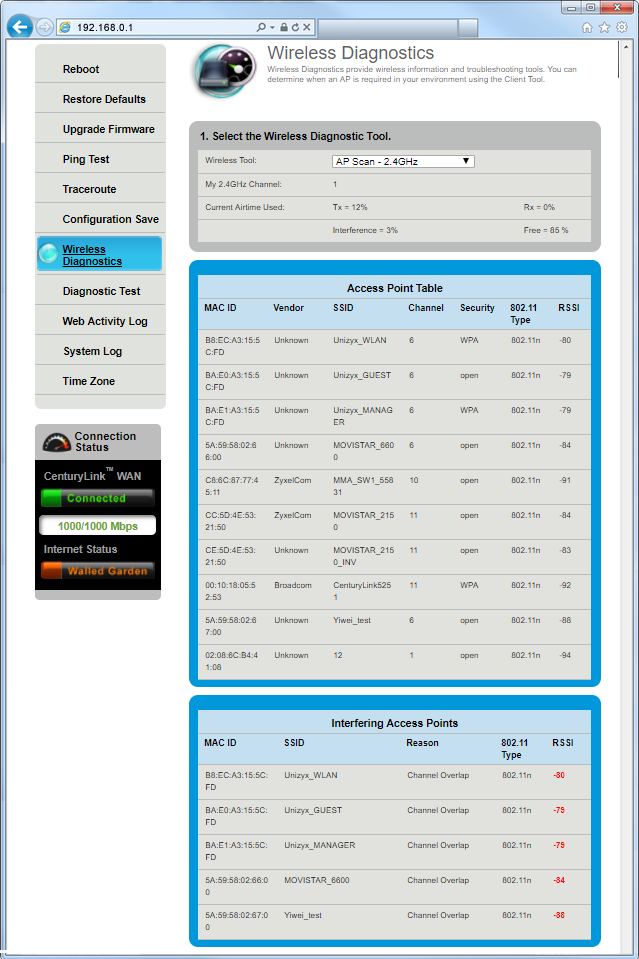
Click on the diagnostic names below to view samples. A description of all diagnostic tools is provided below.
The client table shows you a list of devices connected to your WiFi network.
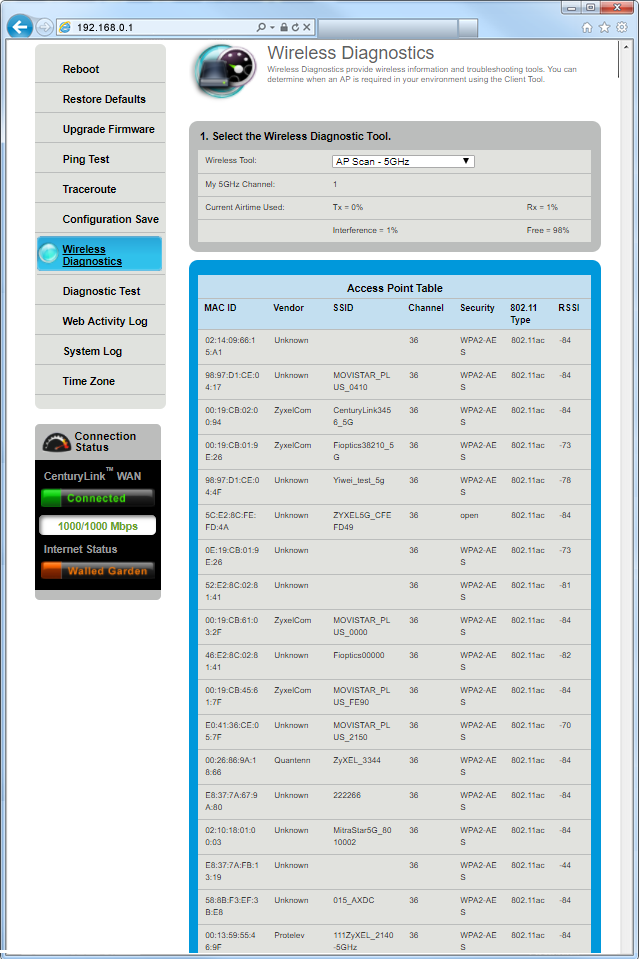
AP Scans show you the access points (AP) near you, specific to either the 2.4 GHz or 5 GHz wireless frequency.
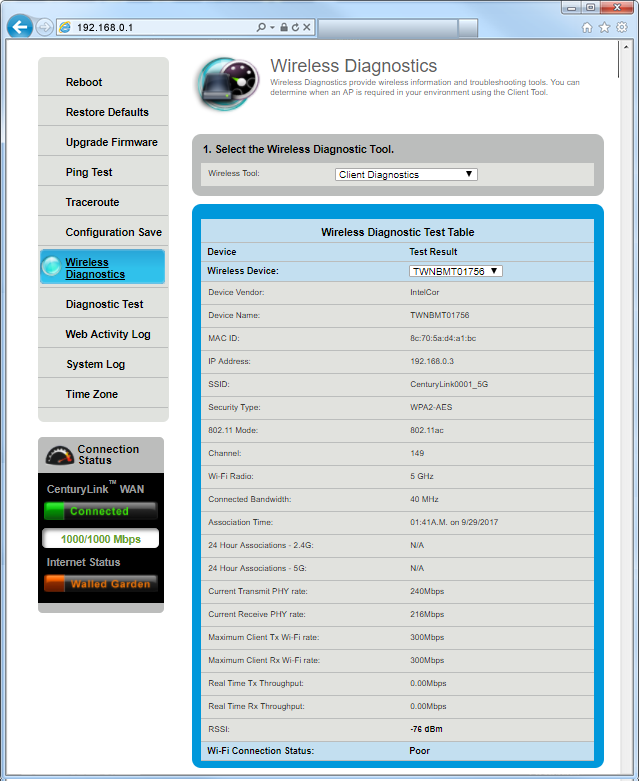
Client Diagnostics gives you data specific to each device connected to your WiFi network. This is helpful when one device is having WiFi problems.
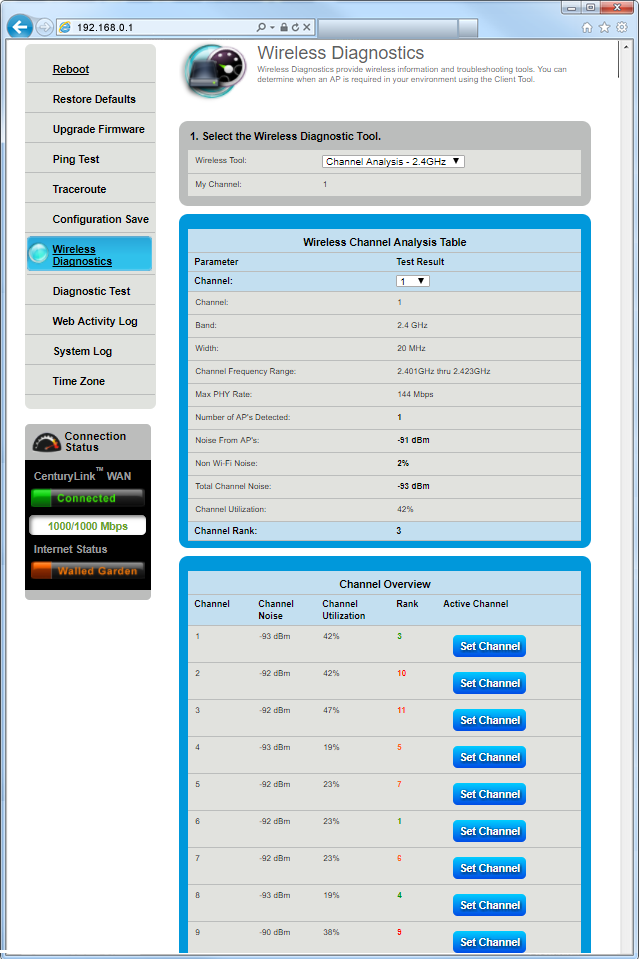
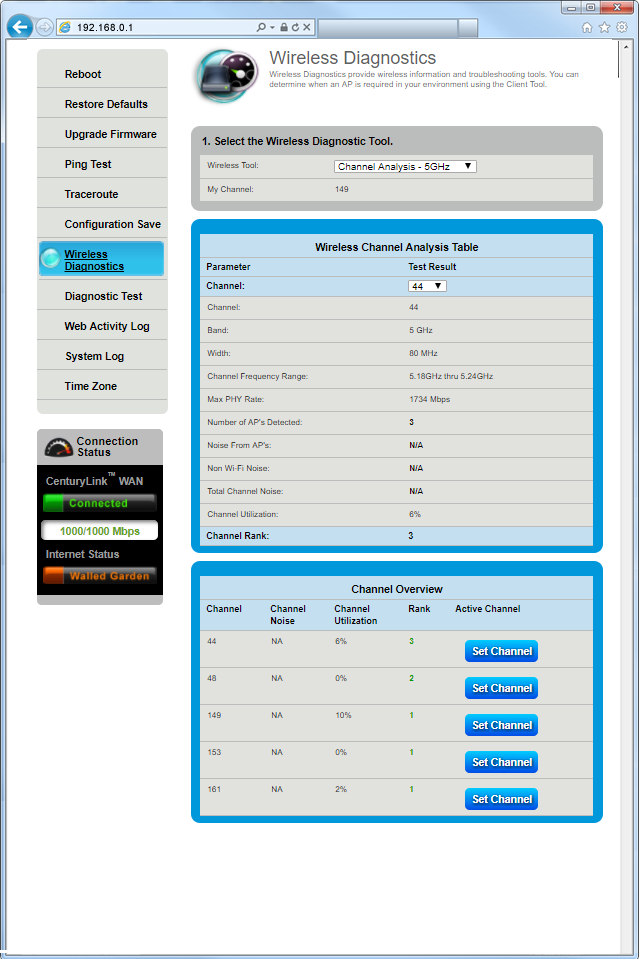
Channel Analysis gives you data about available WiFi channels, including non-WiFi noise, noise from other access points, total channel noise, and channel rank. This can help you choose and set the optimal channel.
Top modem/router topics
- Set up your modem and activate internet
- Connect devices to your WiFi network
- Should you use 2.4 or 5 GHz WiFi?
- Brightspeed compatible modems
- How to read your modem lights
- When and how to use modem reset
- How to return a modem
- How to upgrade your modem's firmware
- Modem or router: What's the difference?
View all Modem/Router topics
Top tools
Log in to access our most popular tools.
Brightspeed services support
