Creating a repair ticket
If you're experiencing a problem with your service, you can create a repair ticket to get it working correctly.
To create a repair ticket:
- Sign in to Control Center. (Get help retrieving your username or password.)
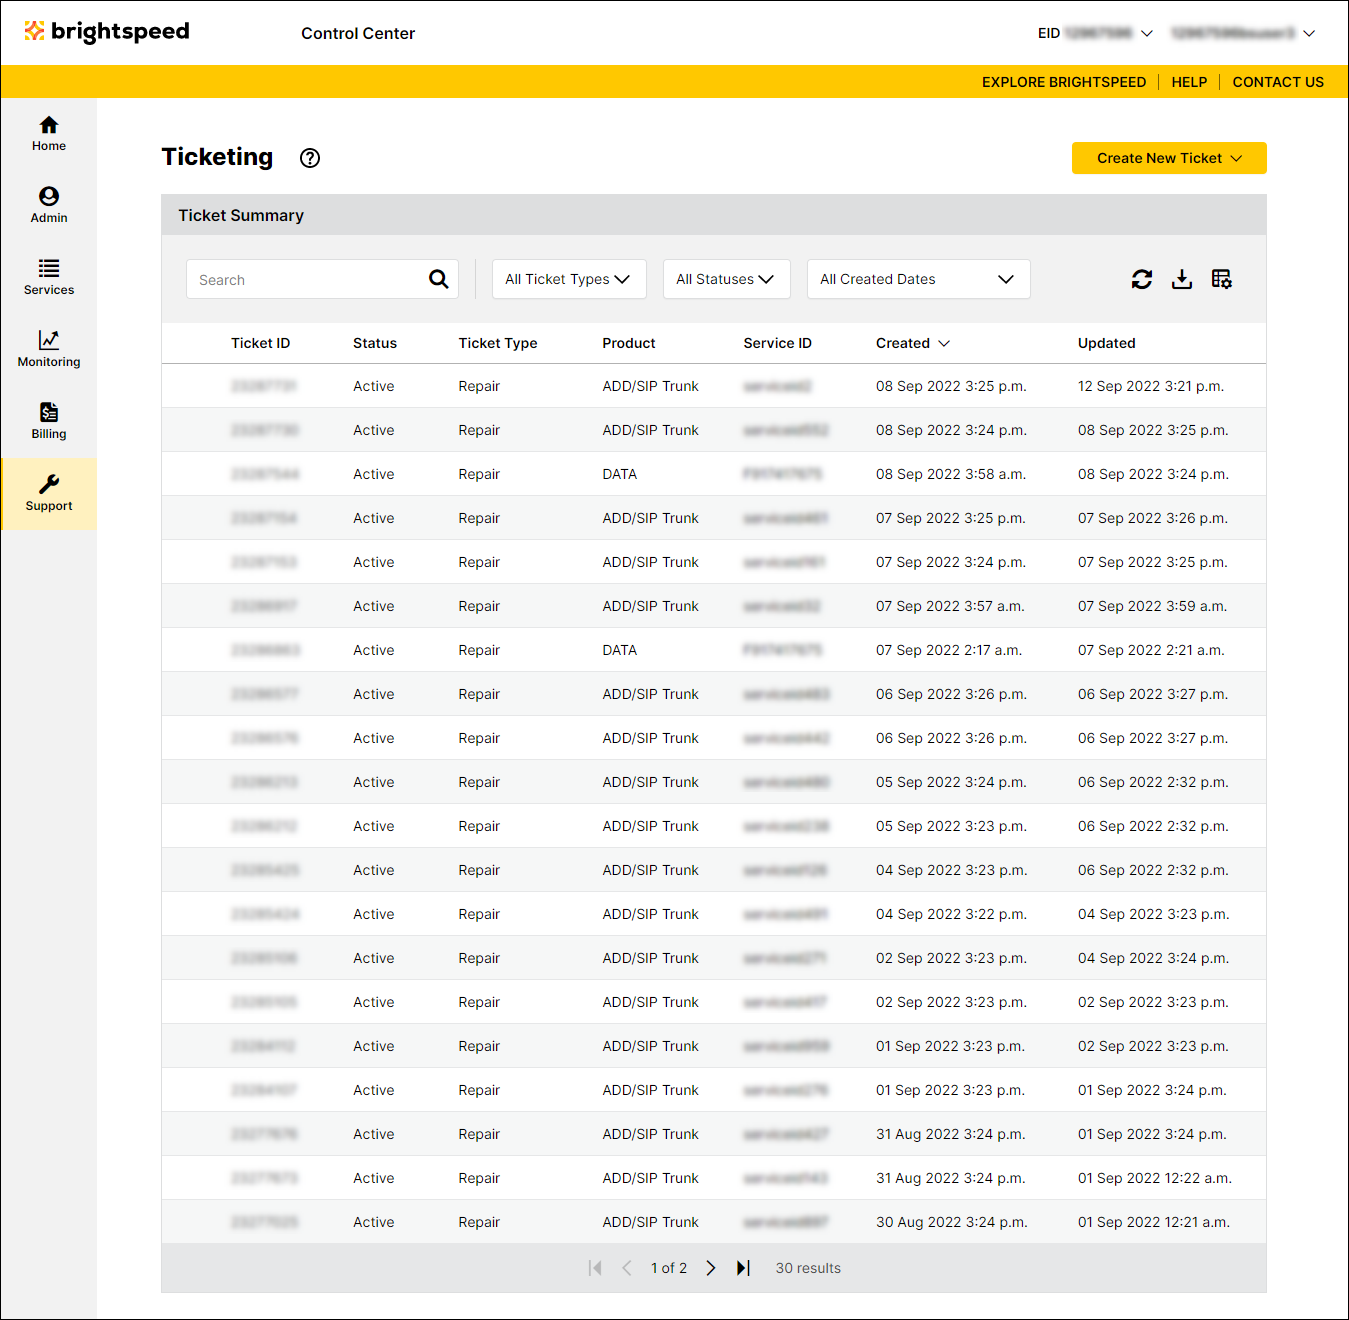
- Click Support, then Ticketing.
Control Center lists all tickets—repair, potential repair, activation, configuration, maintenance inquiry, and reason for outage (RFO)—including tickets Brightspeed created on your behalf. By default, tickets are organized by the date the ticket was created (starting with the newest). The Status column shows the status for each ticket: Active, Canceled, Closed, etc. Potential tickets are marked with a yellow flag. Tickets needing a reply from you are marked with a green flag.

- From the Create New Ticket list, select Repair Ticket.

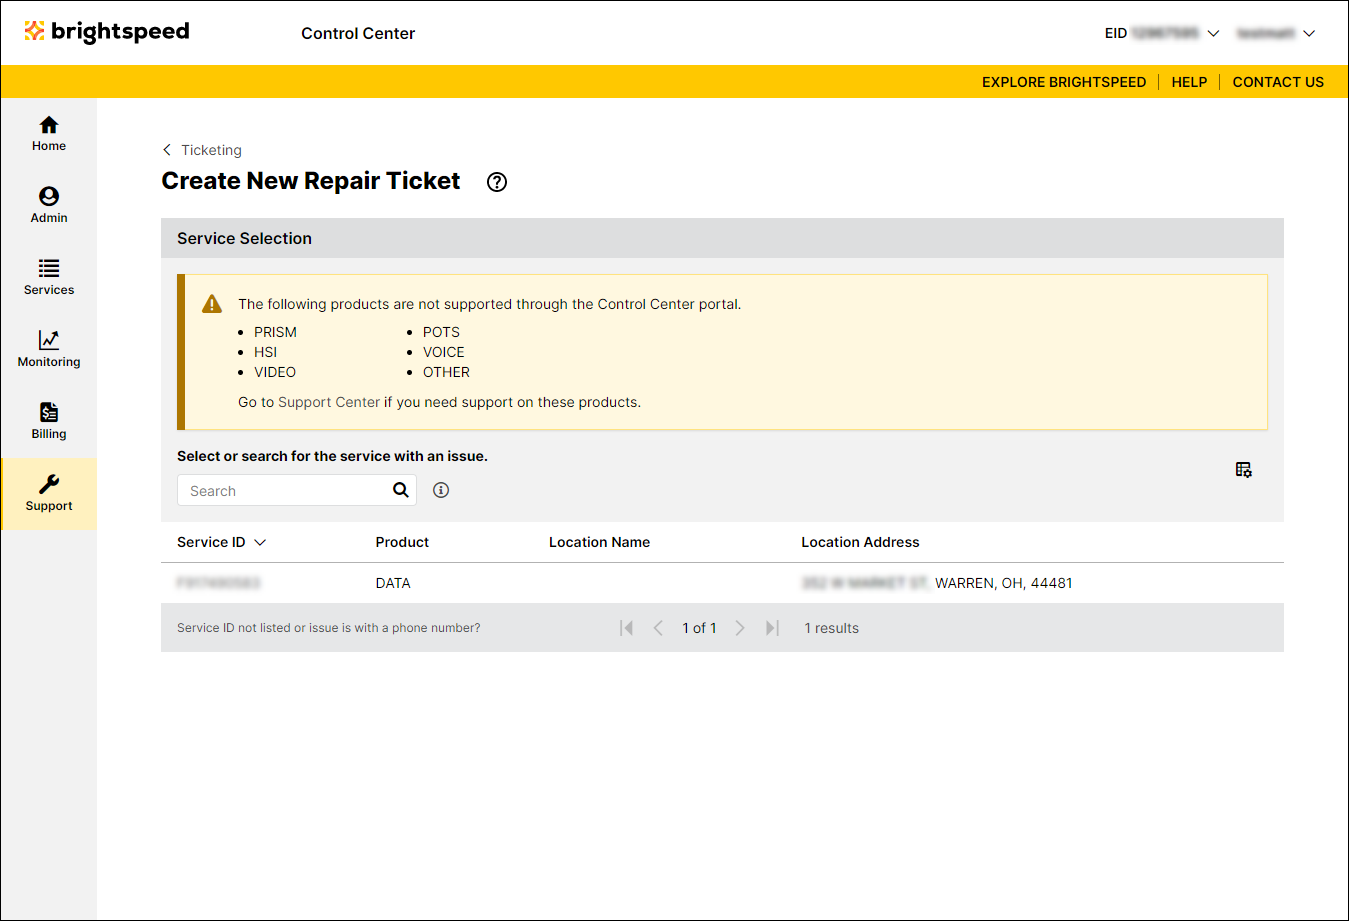
- To start the ticket, you'll need the product/service ID for the product or service you need repaired. Then, do one of the following:
- If you know all or part of the product or service ID, type it into the Search field. (Control Center filters the list of services as you type.)
- If you don't know the product or service ID, scroll through the list to look for the product or service needing repair.
- If you know all or part of the product or service ID, type it into the Search field. (Control Center filters the list of services as you type.)
- When you find the service, click the hyperlinked service ID. If your issue is with a phone number or if you don't see the service ID listed, click the Service ID not listed or issue is with a phone number? link. (Control Center shows a red flag next to services with active tickets.)
- In the Repair Information section, tell us more about the problem you're having with the service:
- Select the type of problem from the list.
- Tell us the day and time (including time zone) when the problem started.
- Tell us whether you're still having the problem.
- Tell us whether you've checked your local equipment to verify it's working correctly.
- If necessary, tell us the impact this service is causing your business (so we can prioritize this issue if needed).
- Describe the issue you're having with your service.
- If you're tracking the ticket in another system within your organization, you can type it in the Customer Internal Ticket field.
- Select the type of problem from the list.
- In the Authorization section, do the following:
- Tell us whether we can run remote intrusive testing to help diagnose the problem. If you authorize testing, you can select whether we can test 24x7 or within certain timeframes and on certain days (e.g., only on after 5:00pm on weekdays and all day on weekends).
- Tell us whether you authorize us to send a technician to your location. Again, you can select 24x7 or only within certain timeframes and on certain days. If you authorize us to send a technician, you also need to provide a local contact for the location.
- Tell us whether we can run remote intrusive testing to help diagnose the problem. If you authorize testing, you can select whether we can test 24x7 or within certain timeframes and on certain days (e.g., only on after 5:00pm on weekdays and all day on weekends).
- In the Attachments section, you can attach any documents (such as a more detailed explanation of the problem or additional details pertaining to your request), you can upload up to five documents (up to 2MB each). To attach a document, click Add Attachment, browse to locate the file, then click Open.
- In the Contacts section, do the following:
- From the Preferred Contact Method list, select how you want us to contact you about this issue.
- Either leave yourself as the primary contact or manually fill in the contact information for that person.
- If you want to add a secondary contact for this issue, type their information.
- From the Preferred Contact Method list, select how you want us to contact you about this issue.
- Click Submit.
Control Center submits your ticket. A representative will be assigned to your ticket within one to four hours. You can now track the status of your ticket with other tickets open for your organization.
Note: By default, you'll be listed as the primary contact using the information in your Control Center profile. You can edit your contact information or select an alternate contact from the Primary Contact list.
Not quite right?
Try one of these popular searches:
Explore Control Center
